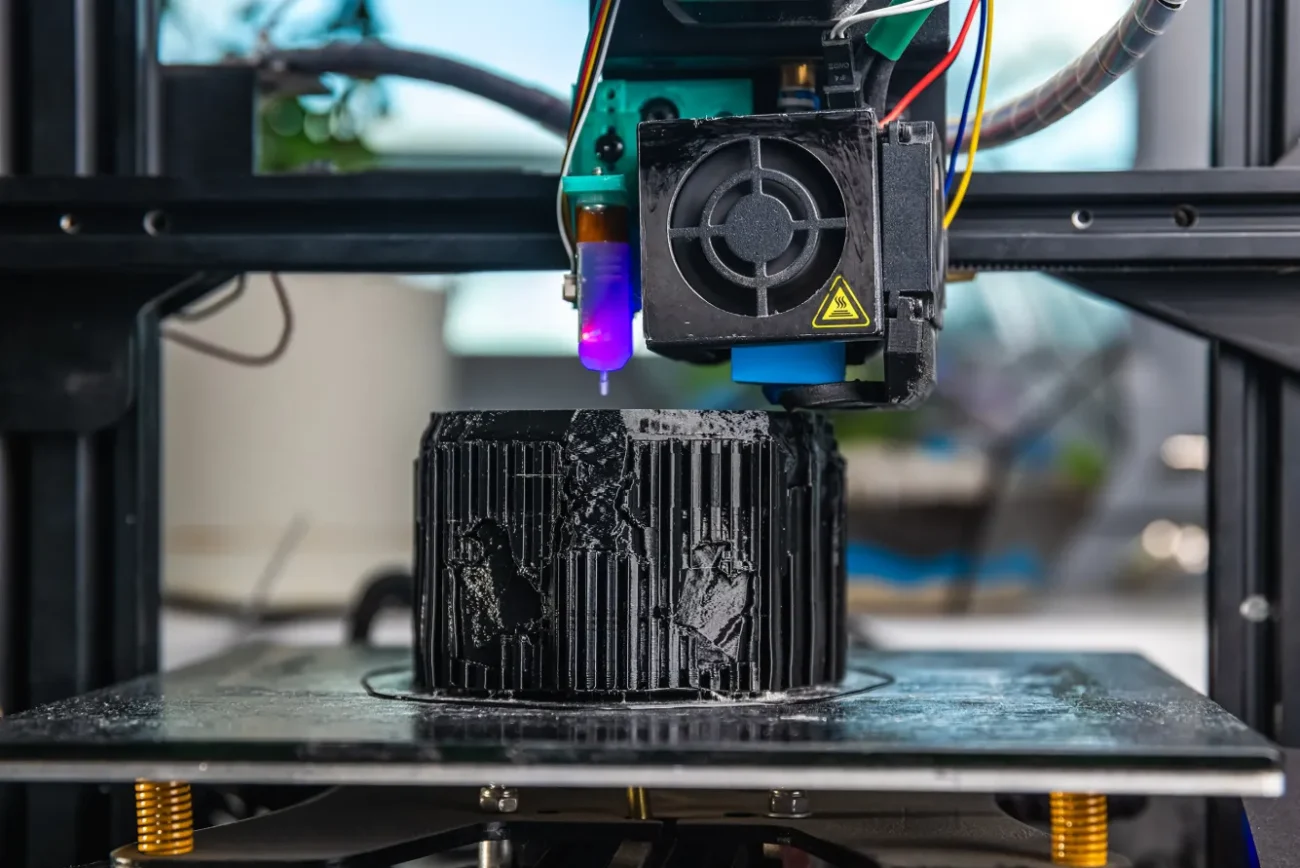
There is a fundamental truth about Fused Deposition Modeling (FDM) that every newcomer must eventually face: you are going to experience failed prints. It is an entirely unavoidable rite of passage in the desktop manufacturing world. When you take a step back and consider what the process actually entails—melting thermoplastic at hundreds of degrees, pushing it through a microscopic opening, and relying on robotic stepper motors to move with sub-millimeter precision for hours or days at a time—it is a minor miracle that it works as often as it does.
Occasionally, the laws of physics, thermal dynamics, or simple mechanical friction will disagree with your digital plan. You will walk away from your machine expecting a perfectly formed model, only to return hours later to a chaotic mess of ruined plastic.
However, the difference between a frustrated hobbyist and a master maker is not that the master never fails; it is that the master knows exactly how to read a failure. When your machine produces a mess instead of a masterpiece, the plastic is actually leaving you a highly detailed trail of clues. By learning to act as a 3D printing detective, you can diagnose the root cause of the issue and adjust your machine to prevent it from ever happening again. Here is a comprehensive guide to diagnosing and curing the most common 3D printing fails.
1. The Spaghetti Monster (Loss of Bed Adhesion)
The Symptom: You start a print before going to bed, and the first few layers look absolutely fantastic. You wake up the next morning, excited to see your finished model, but instead, you find a massive, tangled nest of thin plastic strings covering your build plate. The model itself is either knocked over or entirely missing.
The Diagnosis: This is affectionately known in the community as the “Spaghetti Monster.” It happens when your model loses adhesion and completely detaches from the build plate midway through the printing process. Because the standard printer has no eyes or spatial awareness, it does not know the model has fallen over. It simply continues following its G-code, moving the nozzle in mid-air and extruding molten plastic into nothingness. The plastic cools as it falls, creating a tangled nest.
The Cure:
- Deep Clean the Bed: 90% of the time, this failure is caused by invisible grease. Human fingertips are covered in natural oils, and if you touch the build plate to remove a previous print, you leave an oil slick behind. Molten plastic will not stick to oil. Thoroughly wipe the bed down with 90% Isopropyl Alcohol before every print.
- Adjust the Z-Offset: If your nozzle is too far away from the bed during the very first layer, the plastic will not “squish” into the microscopic pores of the build surface, creating a weak foundation that is easily knocked loose later.
- Add a Brim or Raft: If you are printing something tall with a very small footprint (like a standing action figure), there simply isn’t enough surface area touching the glass to anchor it against the friction of the moving nozzle. Go into your slicing software and add a “Brim,” which prints a wide, flat suction cup around the base of the model to hold it down.
2. The Hairy Print (Stringing and Oozing)
The Symptom: Your model finishes successfully and remains attached to the bed, but it looks like it is covered in spiderwebs. There are hundreds of tiny, hair-like plastic strings spanning across the empty gaps between different sections of your model.
The Diagnosis: This is known as “stringing” or “oozing.” When the print head finishes printing one section of the model and needs to travel across an empty gap of air to start printing the next section, the plastic inside the hot nozzle is still molten. Without proper settings, gravity and residual pressure will cause that molten plastic to slowly ooze out during the travel move, leaving a string behind.
The Cure:
- Enable and Tune Retraction: In your slicing software, ensure that “Retraction” is enabled. This crucial feature tells the extruder motor to quickly pull the filament backward a few millimeters just before the nozzle moves across an empty space. This creates a tiny vacuum inside the nozzle, preventing the plastic from oozing out. If retraction is already on, try increasing the retraction distance or speed slightly.
- Lower the Print Temperature: If your plastic is heated far beyond its melting point, it becomes the consistency of water and will ooze regardless of how good your retraction settings are. Try lowering your printing temperature in increments of 5°C until the stringing stops.
3. The Spongy Model (Under-Extrusion)
The Symptom: Your printed object looks incredibly weak, brittle, and spongy. The outer walls have visible gaps, pitting, or entirely missing layers, and the model snaps easily when handled. You might also hear a rhythmic “clicking” or “thumping” sound coming from the extruder motor during the print.
The Diagnosis: This is a classic case of “under-extrusion.” The machine is trying to push the correct amount of plastic out of the nozzle, but something is physically restricting the flow. Because not enough plastic is exiting the nozzle, the layers are too thin and cannot bond together properly, leaving air gaps.
The Cure:
- Unclog the Nozzle: Dust from the air or microscopic burnt pieces of old plastic can partially block the 0.4mm opening of your nozzle. Heat the nozzle up to temperature and use a specialized acupuncture needle to clear the blockage, or perform a “Cold Pull” to drag the debris out.
- Check for Tangled Filament: If the spool of plastic on your spool holder is knotted or overlapping itself, the extruder motor will struggle to pull it. The motor will skip, creating that clicking sound. Always ensure your spool spins freely.
- Slow Down: If you are trying to print at extremely high speeds but your temperature is set too low, the heating block simply cannot melt the solid plastic fast enough to keep up.
4. The Staircase Effect (Layer Shifting)
The Symptom: Your model looks absolutely perfect for the first few inches, but suddenly, the entire top half of the print is shifted a quarter-inch to the left or right, making it look like a staircase.
The Diagnosis: This mechanical failure is called “layer shifting.” The printer’s brain thought the print head was at coordinates (X:100, Y:100), but due to a physical slip, the print head was actually at (X:90, Y:100). The printer continued printing blindly from the wrong location.
The Cure:
- Tighten Your Belts: Most FDM machines use rubber timing belts to move the print head. Over time, these belts stretch. Pluck your X and Y belts like a guitar string; they should produce a low, taut twang. If they are loose and floppy, the motorized pulley will slip teeth. Tighten them immediately.
- Avoid Print Collisions: Sometimes, a small blob of over-extruded plastic will cool and curl upward. When the heavy brass nozzle hits this hard plastic speedbump during a travel move, the collision forces the motor to skip a step. Ensure your part-cooling fans are running at 100% to prevent plastic from curling into the nozzle’s path.
Investing in Reliability: When to Upgrade Your Hardware
While learning to troubleshoot is an essential skill, it is important to recognize when you have simply outgrown your entry-level hardware. Many cheap, budget-friendly machines require constant, daily tinkering. You might find yourself spending more time fixing the machine than actually printing with it.
If you are a professional, a dedicated hobbyist, or a small business owner who relies on consistent, repeatable results, investing in a premium, heavy-duty 3D printer can instantly eliminate the vast majority of these headaches. High-end machines are built with rigid, all-metal frames that prevent layer shifting, and they feature advanced auto-calibration routines that perfectly set the Z-offset, virtually eliminating spaghetti monsters and failed first layers.
Furthermore, if your projects frequently fail due to complex support structures snapping or leaving terrible surface finishes on overhanging geometry, you are likely hitting the physical limits of single-extrusion technology. By upgrading to a dedicated IDEX (Independent Dual Extruder) Color 3D printer, you completely change your manufacturing capabilities. You can utilize water-soluble supports that dissolve flawlessly, leaving pristine surfaces behind, and achieve vibrant, multi-material prints that simply cannot be replicated on basic hardware. Investing in the right tool for the job transforms the 3D printing experience from a frustrating puzzle into a streamlined, highly productive manufacturing process.

Ferderik Moller is a passionate blogger with expertise in massages, relationships, and festivals. He shares unique insights, expert tips, and creative ideas to nurture well-being, strengthen bonds, and elevate the joy of celebrations and special moments.